

Learning CorelDRAW for beginners comes down to three things: getting comfortable with the interface, understanding how basic vector shapes work, and building one real project so the tools actually click. You don’t need design-school training to start — you need a clear order of operations, which is exactly what this guide gives you.
CorelDRAW has been a staple of the vector graphics world since 1989, and the current Graphics Suite still uses many of the same core concepts that made it popular with sign makers, illustrators, and print designers in the first place. The learning curve feels steeper than it is mostly because new users open the software and get overwhelmed by toolbars before they understand what any of it does. Fix that order, and the program stops feeling intimidating within an hour or two.
What Is CorelDRAW and Why Is It Good for Beginners?
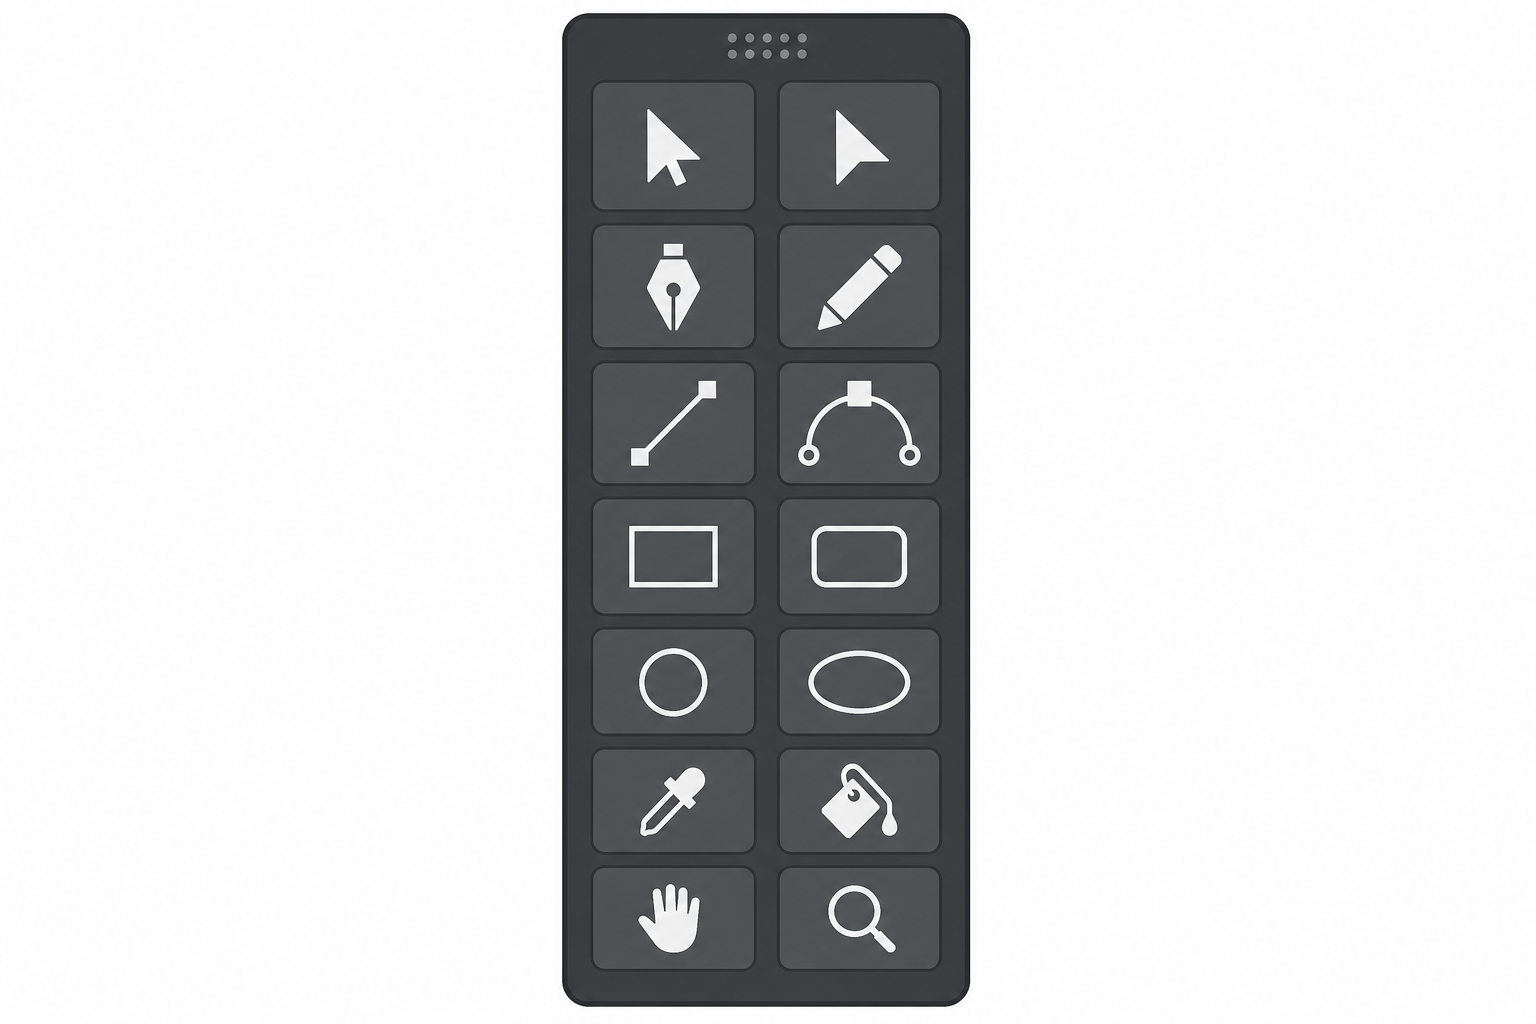
CorelDRAW is a vector illustration and page-layout application, meaning every shape you draw is made of mathematical paths rather than pixels — so logos, icons, and line art stay crisp at any size. For beginners, that’s actually an advantage over pixel-based editors: you can resize, recolor, and reshape objects endlessly without losing quality, which makes early mistakes easy to fix.
It’s also a reasonable starting point because the toolset is logically grouped. Once you know where the shape tools, the fill tools, and the text tools live, most of the rest of the interface is just variations on those three ideas.
Exploring the CorelDRAW Interface for Beginners
The CorelDRAW interface is built around a central canvas, a vertical toolbox on the left, a property bar that changes based on what tool you’re using, and dockable panels on the right for color, objects, and effects. Spend ten minutes just hovering over icons before you draw anything — it saves hours of hunting later.
The Toolbox and Property Bar
The toolbox on the left holds your core drawing tools: the Pick tool (for selecting and moving objects), the Shape tool (for editing paths), rectangle and ellipse tools, and the text tool. Whatever tool is active, the property bar at the top updates to show relevant options — stroke width, corner rounding, font size, and so on. This is the single most useful habit to build early: always check the property bar before assuming a feature doesn’t exist.
Dockers, Rulers, and the Color Palette
On the right edge sits the color palette, where a left-click fills an object and a right-click sets its outline color. Dockers (Window > Dockers) give you deeper control over objects, layers, and alignment. Rulers along the top and left help with precise placement, which matters a lot once you move from doodling to a real logo project.
- Pick tool — select, move, scale, and rotate objects
- Shape tool — edit nodes and curves on a path
- Rectangle/Ellipse tools — draw basic vector shapes
- Text tool — add and format type
- Color palette — fill and outline colors with a click
Learning Basic Vector Shapes in CorelDRAW
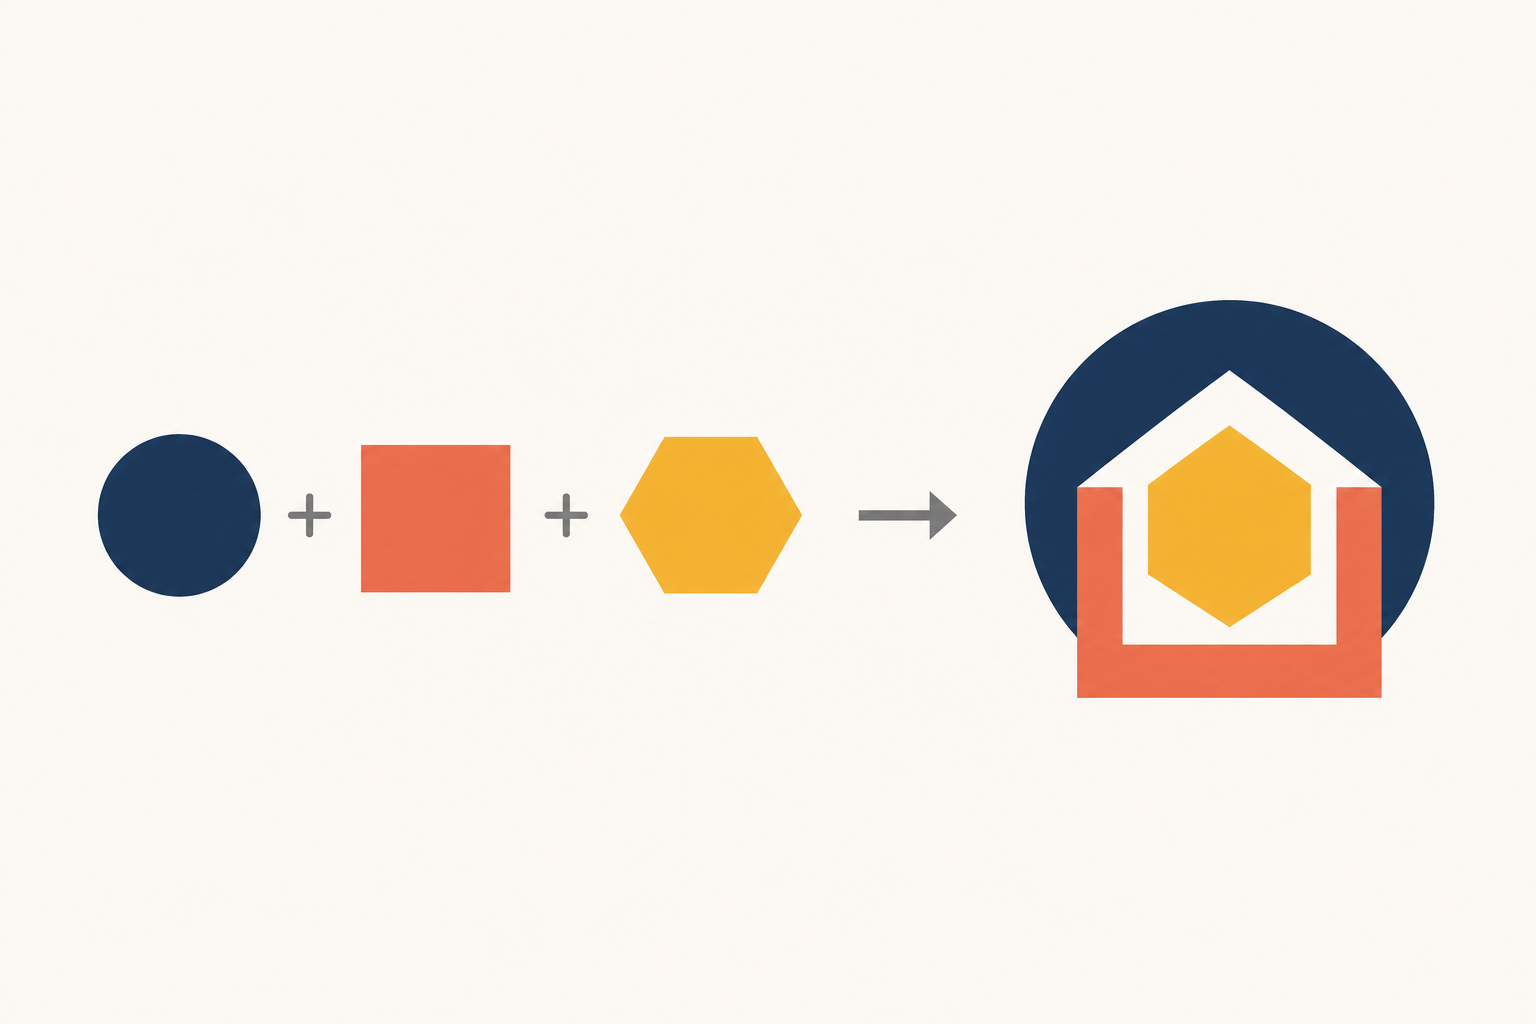
Basic vector shapes are the building blocks of nearly every CorelDRAW project, and mastering rectangles, ellipses, and polygons before anything else gives you a foundation for logos, icons, and layouts alike. Every complex illustration in CorelDRAW ultimately breaks down into combinations of these primitive shapes.
Rectangles, Ellipses, and Polygons
Select the Rectangle tool (R) and drag on the canvas — hold Ctrl to constrain it to a perfect square. The Ellipse tool (E) works the same way, with Ctrl producing a perfect circle. The Polygon tool lets you set the number of sides in the property bar before you draw, which is handy for stars, triangles, or hexagonal badge shapes often used in logo work.
Editing Nodes with the Shape Tool
Once a shape exists, the Shape tool (F10) lets you click and drag individual nodes to reshape it. Right-clicking a node gives you options to add, delete, or change it from a sharp corner to a smooth curve. This single tool is what separates a basic rectangle from a custom, organic logo mark — it’s worth practicing on a few throwaway shapes before touching your real project.
Your First Logo Project: A CorelDRAW for Beginners Walkthrough
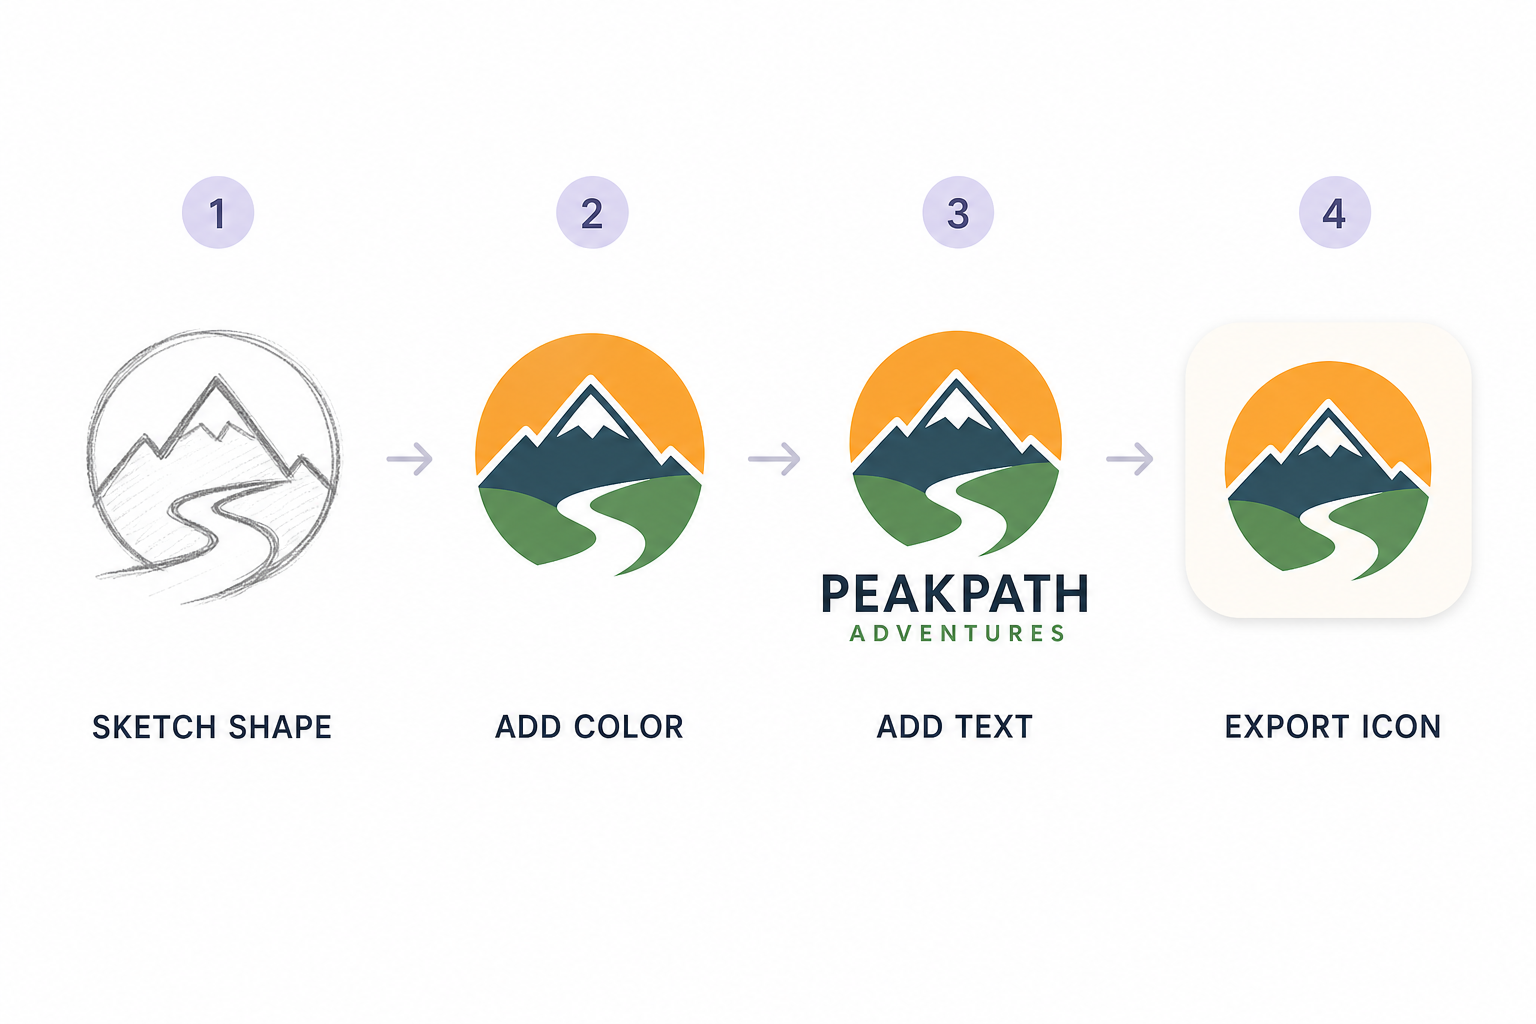
The fastest way to actually learn CorelDRAW for beginners is to build one small, complete project rather than following disconnected tutorials. A simple text-and-icon logo is the ideal first project because it touches shapes, nodes, color, and type in under an hour.
Step 1: Set Up Your Canvas
Start a new document sized for your logo’s final use — a square canvas around 2000 x 2000 pixels works well for a logo that needs to scale down to a social media icon or up to a sign.
Step 2: Sketch the Shape Foundation
Draw your base shape using the Rectangle, Ellipse, or Polygon tool, then refine it with the Shape tool. Keep it simple — most memorable logos are built from one or two basic vector shapes combined, not a dozen.
Step 3: Add Typography
Use the Text tool to add your brand name below or beside the icon. Stick to one or two fonts maximum, and use the property bar to adjust kerning and size until the text balances visually with the shape.
Step 4: Export Your Logo
Once you’re happy with the design, go to File > Export and choose a vector format like SVG or EPS for scalability, plus a PNG for quick sharing. Exporting both ensures the logo works whether it ends up on a business card or a billboard.
- Set up a square canvas for your logo
- Build the icon from basic vector shapes
- Edit nodes for a custom silhouette
- Add and style your text
- Export as both vector and raster formats
Common Mistakes New CorelDRAW Users Make
The most common mistake beginners make is ignoring the property bar and trying to find every option inside menus instead — it slows everything down. A close second is skipping node editing entirely and settling for plain, uneditable shapes instead of refining them into something original.
- Not saving work in CorelDRAW’s native CDR format before exporting
- Overcomplicating the first logo project with too many colors or fonts
- Forgetting keyboard shortcuts like Ctrl+Z, which makes experimentation feel riskier than it is
- Zooming in too little to edit nodes precisely
None of these are serious problems — they’re just habits that correct themselves after a project or two.
Which CorelDRAW Version Is Best for Beginners?
For someone learning CorelDRAW for beginners, a standard Graphics Suite license covers everything in this guide without the added complexity of the Technical Suite’s engineering-focused tools. CorelDRAW Standard 2021 for Windows is priced at €29.90 for a lifetime license and includes the full vector toolset, making it a practical entry point if you want to practice without committing to the newest release right away.
If you’d rather compare it against other design tools before buying, our breakdown of CorelDRAW vs Canva explains where each tool fits depending on whether you need precise vector control or fast template-based design. You can also browse the full range of CorelDRAW licenses to see which edition matches your platform and budget.
For structured lessons straight from the developer, CorelDRAW Academy’s beginner lessons are a solid supplement to hands-on practice, covering fundamentals at your own pace.
FAQ
Is CorelDRAW for beginners easy to learn?
Yes, as long as you learn the interface before trying to build a complex project. Most people get comfortable with the basic tools — selection, shapes, and fill — within their first few sessions, and full confidence usually comes after one completed project.
What is the best way to learn CorelDRAW for beginners?
The most effective approach is pairing a short tutorial with immediate hands-on practice, ideally finishing one small project like a logo rather than jumping between unrelated exercises. Repetition with the Shape tool and property bar builds muscle memory faster than reading alone.
How do I create basic vector shapes in CorelDRAW?
Use the Rectangle, Ellipse, or Polygon tools directly from the toolbox, holding Ctrl while dragging to constrain proportions. From there, the Shape tool lets you adjust nodes to turn a basic shape into something more custom.
Can beginners complete a first logo project in CorelDRAW?
Absolutely — a simple icon-plus-text logo is actually the recommended first project because it uses shapes, node editing, color, and typography together without requiring advanced techniques. Most beginners can finish one in under an hour.
Do I need the newest CorelDRAW version to start learning?
No. The core interface and tools covered in this guide — the toolbox, property bar, shape tools, and text tool — have stayed consistent across recent releases, so an earlier lifetime license still teaches the same fundamentals.
