
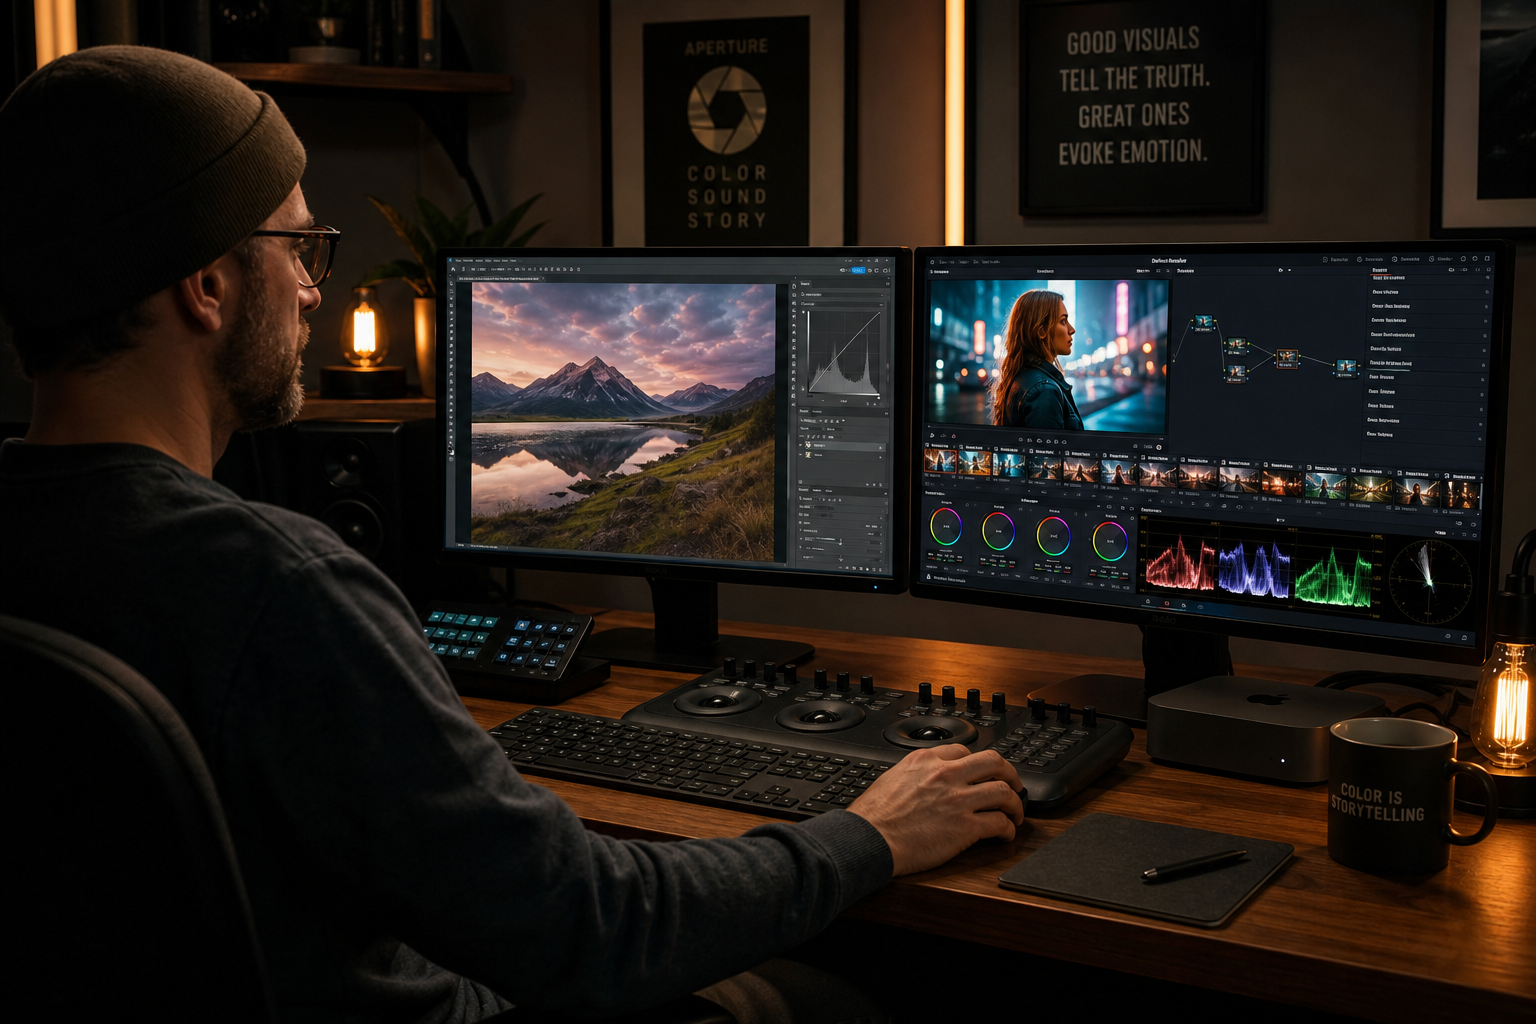
Color grading is the process of stylistically adjusting the colours, tones, and mood of an image or video after the technical exposure corrections are done — and mastering it is what separates polished, professional work from a flat RAW file. Whether you shoot stills or edit video, the tool you choose — Adobe Photoshop, Lightroom Classic, or DaVinci Resolve — shapes your entire pipeline. This guide breaks down each platform’s strengths, shares best practices for consistency, and shows you how to integrate them into a repeatable professional workflow.
What Is Color Grading (and Why It Matters)?
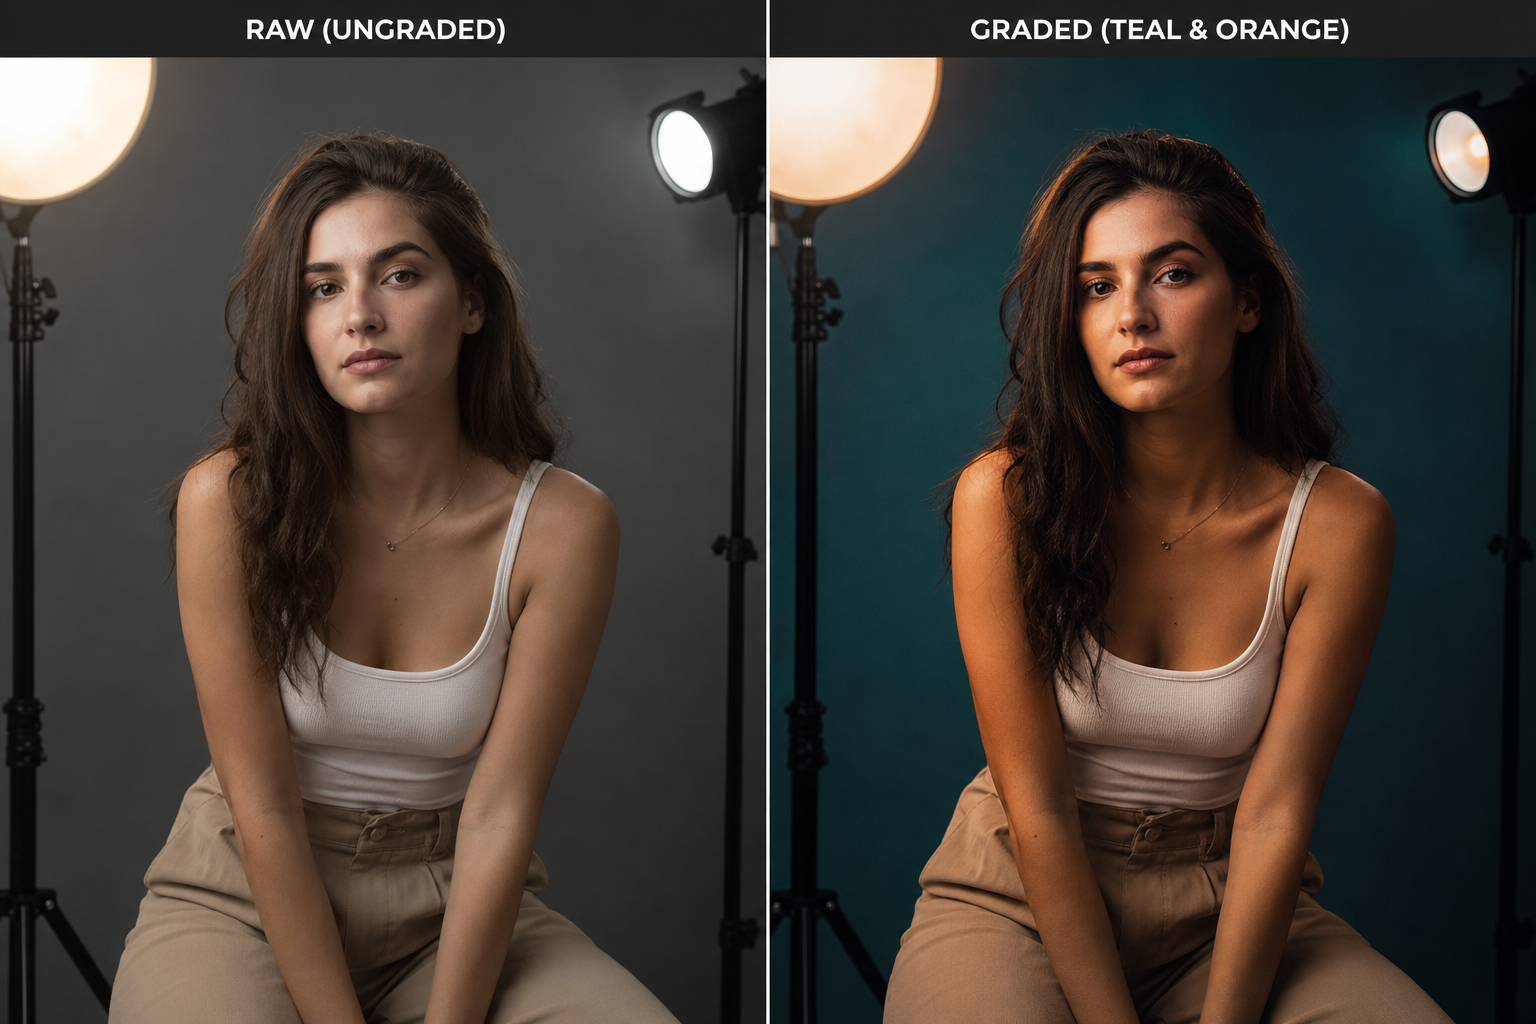
Color grading goes beyond basic corrections like fixing white balance or recovering blown highlights. It is the creative layer that gives your work a signature look — the warm, golden tones of a lifestyle shoot, the desaturated teal-and-orange of a cinematic portrait, or the punchy, high-contrast palette of commercial product photography. Studies by Adobe show that photographers who apply a consistent grade across a shoot’s deliverables are significantly more likely to be hired for repeat commissions, because visual consistency signals professionalism to clients. Understanding the distinct roles of each major tool helps you decide where your photo color grading workflow should live.
Photoshop Color Grading: Curves, LUTs, and Adjustment Layers
Photoshop offers the deepest pixel-level control of any image editor, making it the natural home for complex, image-specific color grading work. The two most powerful tools inside Photoshop are Curves adjustment layers and Color Lookup Tables (LUTs).
Using Curves for Precise Tonal Control
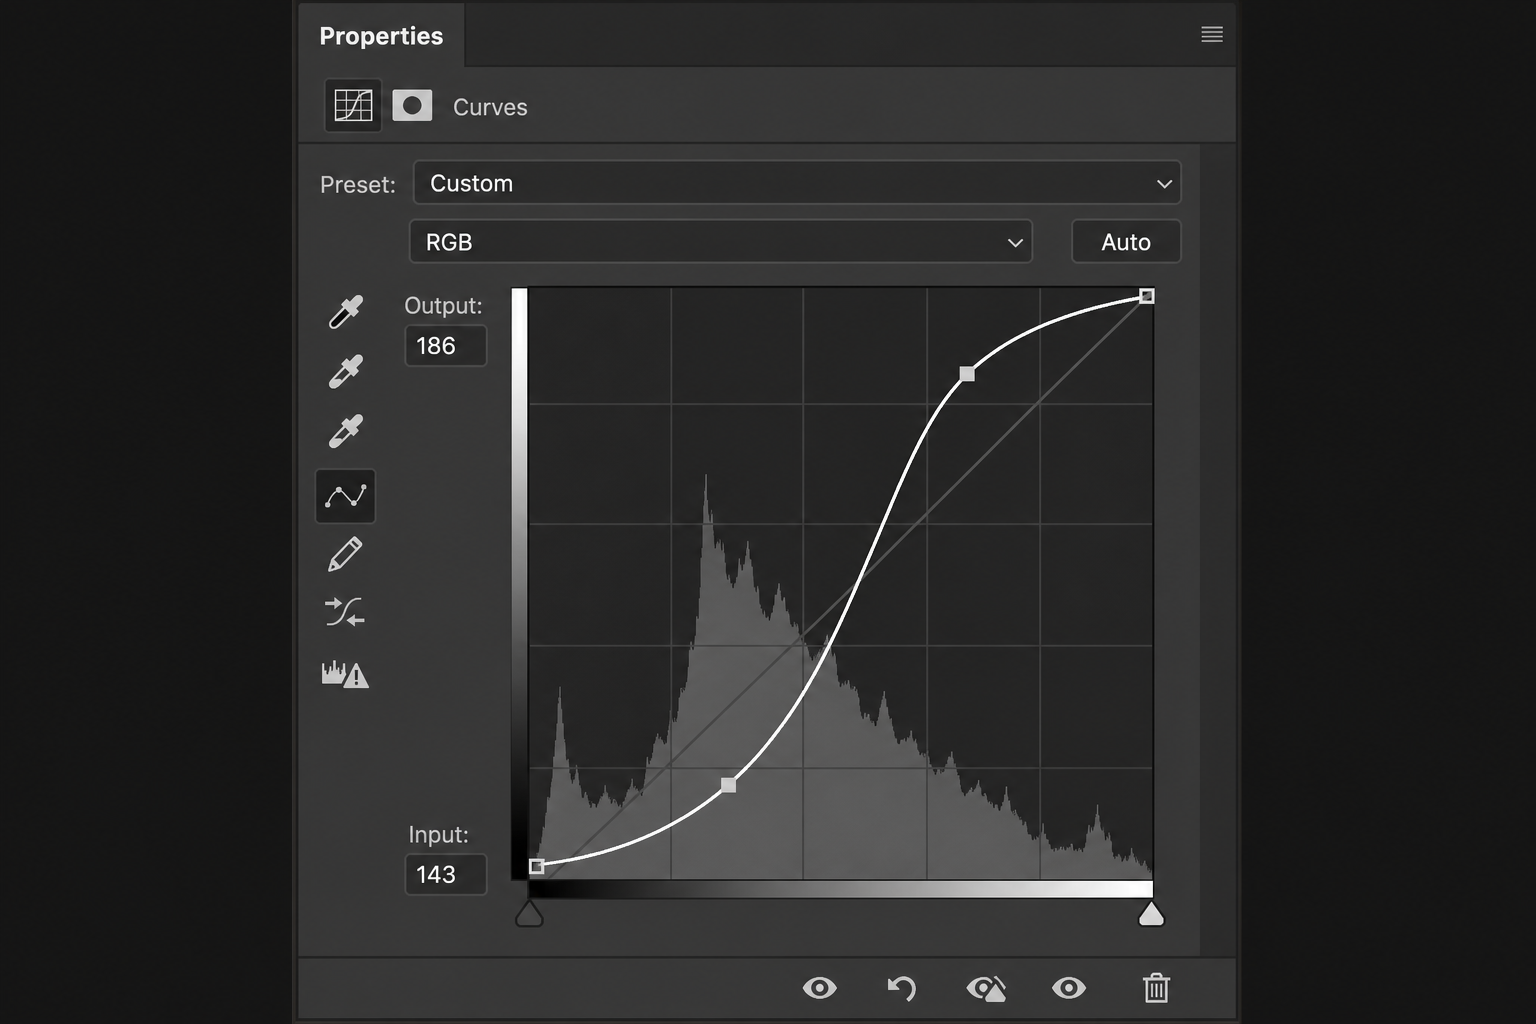
A Curves adjustment layer lets you modify the luminosity and colour channels (RGB, Red, Green, Blue) independently. Pulling the midtones of the Blue channel down introduces warm amber shadows, while lifting the Green channel in the highlights adds a subtle filmic glow. Because Curves layers are non-destructive by default in Photoshop, you can revisit and refine them at any point. Stack multiple Curves layers — each targeting a different tonal range — to build sophisticated image color grading that remains fully editable.
- S-curve: boosts contrast and colour saturation simultaneously — the fastest route to a punchy look.
- Channel-specific curves: create colour casts in shadows and highlights independently (e.g. cool shadows, warm highlights).
- Luminosity masks: blend Curves adjustments only into specific tonal regions using layer masks for surgical precision.
Color Lookup Tables (LUTs) in Photoshop
The Color Lookup adjustment layer (Image → Adjustments → Color Lookup, or via the Adjustments panel) applies a 3D LUT — a mathematical table that maps input RGB values to output values. Photoshop ships with more than 30 built-in LUTs covering film emulation, cinematic styles, and technical conversions. You can also load any industry-standard .cube or .3dl file. The workflow is straightforward: place the Color Lookup layer at the top of your layer stack, set its opacity to taste (60–80% is a common starting point), and use a mask if you want to restrict the grade to specific areas. Once you have dialled in a look, save the entire layer stack as a Photoshop Action to apply it to other images in seconds — this is the foundation of batch color grading in Photoshop.
Batch Processing with Photoshop Actions
Go to File → Automate → Batch to run a recorded Action across an entire folder. Combine this with Image Processor (File → Scripts → Image Processor) to output JPEGs, TIFFs, or PSDs simultaneously. For a shoot of 300 images, a well-built Action can shave hours off a color grading workflow that would otherwise require manual attention on each file.
Lightroom: Non-Destructive Color Grading at Scale
Lightroom Classic (and Lightroom CC) is purpose-built for high-volume photo color grading. Every adjustment — including the dedicated Colour Grading panel introduced in Lightroom 10 — is stored as metadata, meaning your original RAW file is never touched. This non-destructive architecture is why most photographers handle their primary grading pass in Lightroom before moving selectively into Photoshop for retouching.
The Colour Grading Panel Explained
Lightroom’s Colour Grading panel replaces the older Split Toning panel and provides three colour wheels — Shadows, Midtones, and Highlights — plus a global wheel and individual Blending and Balance sliders. Drag the central point of each wheel to push a hue into that tonal range, then use the outer luminosity ring to control brightness. A teal-to-orange grade, for example, is achieved by pushing Shadows toward cyan-blue and Highlights toward warm orange — a technique used in virtually every Hollywood blockbuster since the early 2000s.
Creating and Managing Lightroom Presets
Presets are Lightroom’s superpower for repeatable image color grading. A preset is a saved set of slider values that you can apply to any image with a single click. Best-practice preset creation follows this structure:
- Grade one representative hero image from the shoot to completion.
- Save that grade as a preset (Develop module → Presets panel → + → Create Preset), checking only the panels you want to apply universally (e.g. Colour Grading, HSL, Tone Curve) and unchecking exposure corrections that vary per image.
- In the Library module, select all images and click Sync Settings to push the preset’s values across the batch.
- Use Auto-Sync for live grading: adjust one image and every selected image updates in real time.
Storing presets in Lightroom’s cloud sync means they travel with you across devices — a key advantage for photographers who edit across desktop and tablet.
Batch Exporting with Export Presets
Combine develop presets with export presets (File → Export with Preset) to deliver fully colour-graded, correctly sized files to clients without touching each image individually. For a 500-image wedding shoot, this colour grading workflow can reduce delivery time from a full day to under two hours.
DaVinci Resolve: Professional-Grade Color Grading for Video and Stills
DaVinci Resolve began as dedicated grading hardware used on Hollywood productions and is now available as a free desktop application from Blackmagic Design. Its Colour page is universally recognised as the most powerful colour-grading environment available at any price point. While primarily used for video, Resolve’s still-grading capabilities are increasingly attracting photographers who want node-based control over their image color grading.
The Node-Based Color Grading Workflow
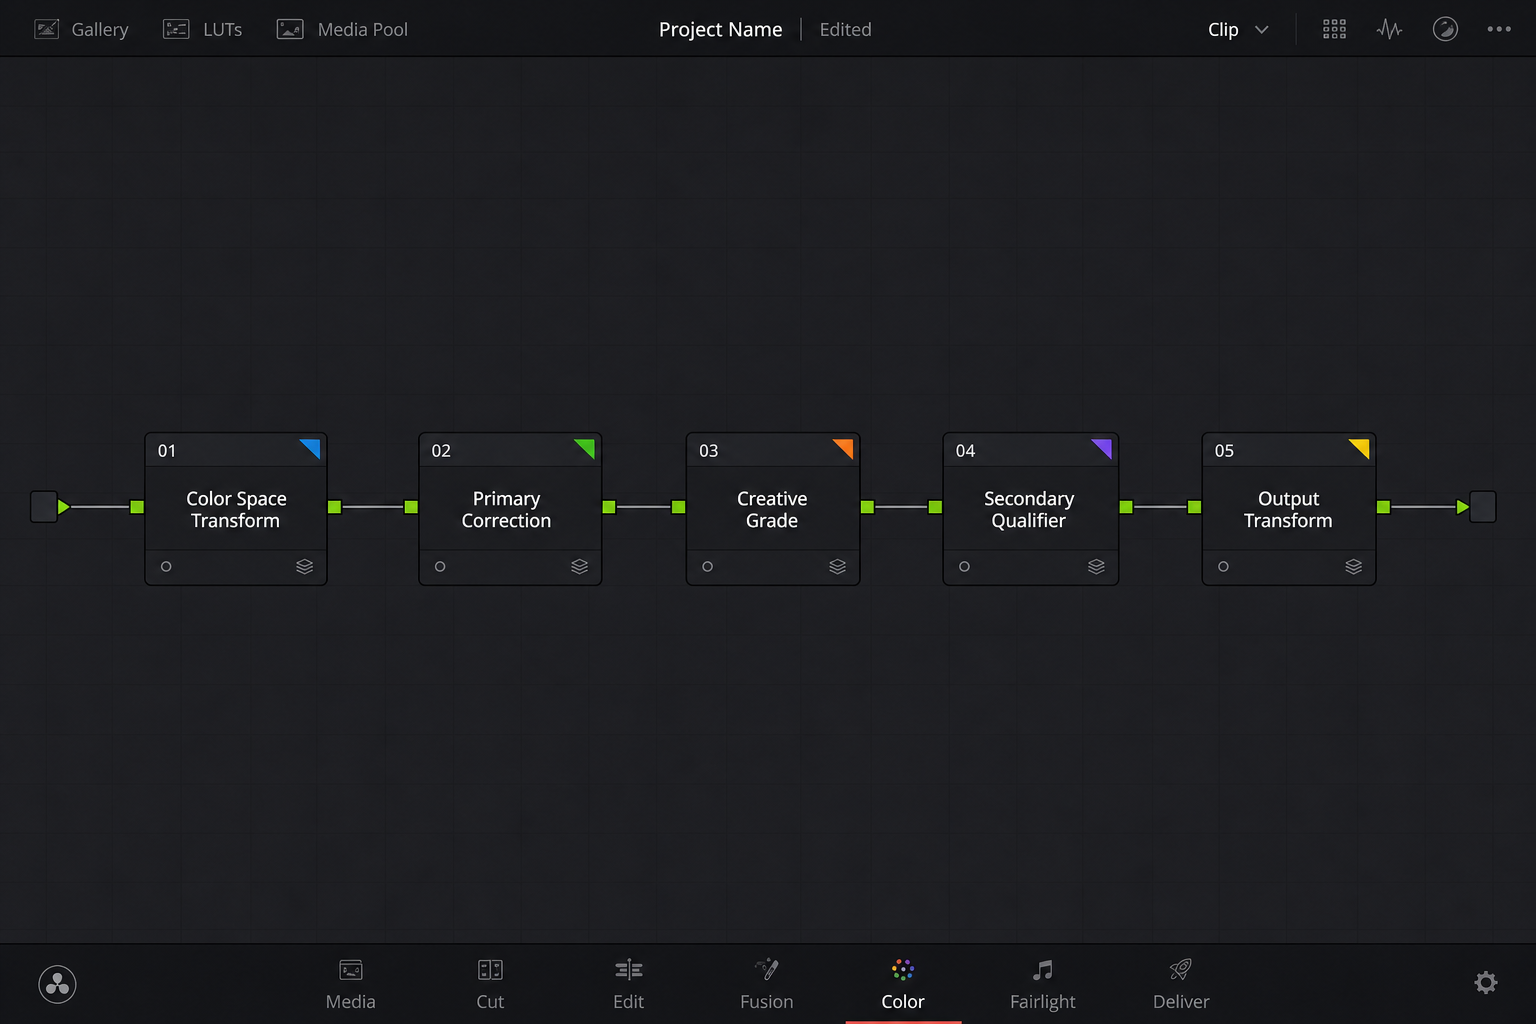
Unlike Photoshop’s layer stack or Lightroom’s flat panel system, Resolve uses a node graph. Each node is an independent colour operation — correction, grade, look, secondary qualifier — and nodes pass their output to the next node in the chain. A typical professional color grading workflow looks like this:
- Node 1 – Colour Space Transform: convert LOG or RAW footage to a working colour space (e.g. DaVinci Wide Gamut).
- Node 2 – Primary Correction: balance exposure, lift/gamma/gain, and white balance using the primary colour wheels or the Curves tool.
- Node 3 – Creative Grade: apply the stylistic look — push hues, create contrast using an S-curve, add a Power Window vignette.
- Node 4 – Secondary Qualifier: isolate a specific colour range (e.g. skin tones or sky) using the Qualifier tool for targeted corrections without affecting the rest of the frame.
- Node 5 – Output Transform: convert back to the delivery colour space (Rec.709 for web video, P3 for cinema).
This structure keeps every stage isolated and reversible — the gold standard for professional colour grading workflows on commercial productions.
Gallery Stills and Remote Grades in Resolve
Resolve’s Gallery panel stores grades as “stills” — snapshots that capture every node’s settings. Apply a still to multiple clips with a single drag-and-drop. The Remote Grade feature links multiple clips to one master grade, so updating the grade on one clip instantly updates all linked clips — ideal for colour consistency across a multi-camera shoot or a long-form documentary.
Color Consistency Best Practices Across All Tools
Regardless of which application anchors your color grading workflow, these cross-platform principles keep colour consistent from shoot to delivery:
- Calibrate your monitor. Use a hardware colorimeter (e.g. X-Rite i1Display) and calibrate to your target colour space. Even the best photo color grading looks different on an uncalibrated display.
- Use a consistent colour space. Shoot RAW, work in a wide-gamut working space (Adobe RGB or ProPhoto RGB for stills; DaVinci Wide Gamut for video), and convert to the delivery space (sRGB for web, Rec.709 for video) only at export.
- Shoot a colour reference card. A 24-patch colour checker (e.g. X-Rite ColorChecker Passport) shot at the start of each session gives you a known reference to anchor your colour correction before creative grading begins.
- Export LUTs from Lightroom for Resolve. Lightroom can export a grade as a .cube LUT (File → Export as LUT, available via plug-ins such as IWLTBAP LUT Robot). Applying that LUT in Resolve’s first node ensures stills and video footage from the same shoot share the same image color grading foundation.
- Version your presets and actions. Name them with a date (e.g. Studio_Warm_Grade_2025-08) so you can recreate any past look precisely.
Integrating Color Grading Into a Professional Pipeline
A robust pipeline separates colour correction (technical) from color grading (creative) and assigns the right tool to each stage:
- Ingest and cull in Lightroom or Bridge. Reject technically unusable frames before grading begins.
- Primary correction in Lightroom (for stills) or Resolve (for video). Fix exposure, white balance, and lens distortion. This stage is purely technical — no look yet.
- Creative color grading — apply a preset or node-based grade to establish the visual style. Use Gallery stills (Resolve) or develop presets (Lightroom) for batch application.
- Selective retouching in Photoshop. Open hero images via Lightroom’s Edit In → Photoshop workflow. Add pixel-level corrections, healing, and composite work, then Save back to Lightroom.
- Export and deliver using colour-managed export presets. Embed colour profiles in every delivered file.
For hybrid shooters producing both stills and video from the same session, Resolve acts as the hub: grade the video on the Colour page, export a LUT, and apply that same LUT in Lightroom for the stills deliverables — achieving visual consistency across both mediums without duplicating effort.
If you want a complete Adobe suite to power your color grading workflow, Adobe Creative Cloud (1 Year) gives you Photoshop, Lightroom, Premiere Pro, and every other Adobe tool in one subscription — available at Top Key Shop for €348.00. For stills-focused photographers, Adobe Photoshop Elements 2025 is a streamlined, lower-cost entry point at €110.90 that still includes guided colour correction and basic LUT support.
For a deeper dive into the science and technique behind LUTs in Adobe’s own applications, Adobe’s official LUT documentation is an excellent reference covering how lookup tables manipulate saturation, contrast, and colour mapping across both Premiere Pro and the broader Creative Cloud ecosystem.
FAQ
What is the difference between colour correction and color grading?
Colour correction is the technical process of making an image look accurate — fixing white balance, normalising exposure, and removing colour casts so that the image represents the scene as the human eye would see it. Color grading is the creative process that comes after: intentionally pushing colours, contrast, and tone to establish a mood or visual style. Both steps are essential in a professional photo color grading pipeline, and they should always be done in that order.
Can I use DaVinci Resolve for photo editing, not just video?
Yes. Resolve accepts TIFF, JPEG, and PNG stills as well as RAW files from supported cameras. Its colour grading tools — including the node graph, Curves, and Qualifier — all work on still images. Many commercial photographers use Resolve alongside Lightroom precisely because its node-based color grading workflow offers a level of secondary control that Lightroom’s panel system cannot match.
What is a LUT and how does it work in a color grading workflow?
A LUT (Look-Up Table) is a mathematical file that maps each input RGB value to a specific output RGB value, effectively baking a colour transformation into a compact, portable format. In a color grading workflow, LUTs are applied as the first or last node in Resolve, or as a Color Lookup adjustment layer in Photoshop. They allow an image color grading look created in one application to be accurately reproduced in any other LUT-compatible tool.
How do I batch colour-grade in Lightroom?
Grade your first image to completion in the Develop module, then select all remaining images in the Library module and click Sync Settings — choosing which Develop panels to synchronise. Alternatively, enable Auto-Sync before you start grading so that every slider adjustment applies to all selected images simultaneously. Saving frequently used grades as Develop Presets means you can apply a complete photo color grading look to an entire shoot in a single click.
Should I grade in Photoshop or Lightroom first?
Lightroom should almost always come first for volume work. Its non-destructive, metadata-based architecture is far faster for batch color grading across hundreds of images. Move individual hero images into Photoshop afterwards for advanced compositing, luminosity masking, or pixel-level retouching. Trying to batch-grade in Photoshop alone is technically possible via Actions and Image Processor, but it is slower and less flexible than Lightroom’s preset-driven image color grading system.
