
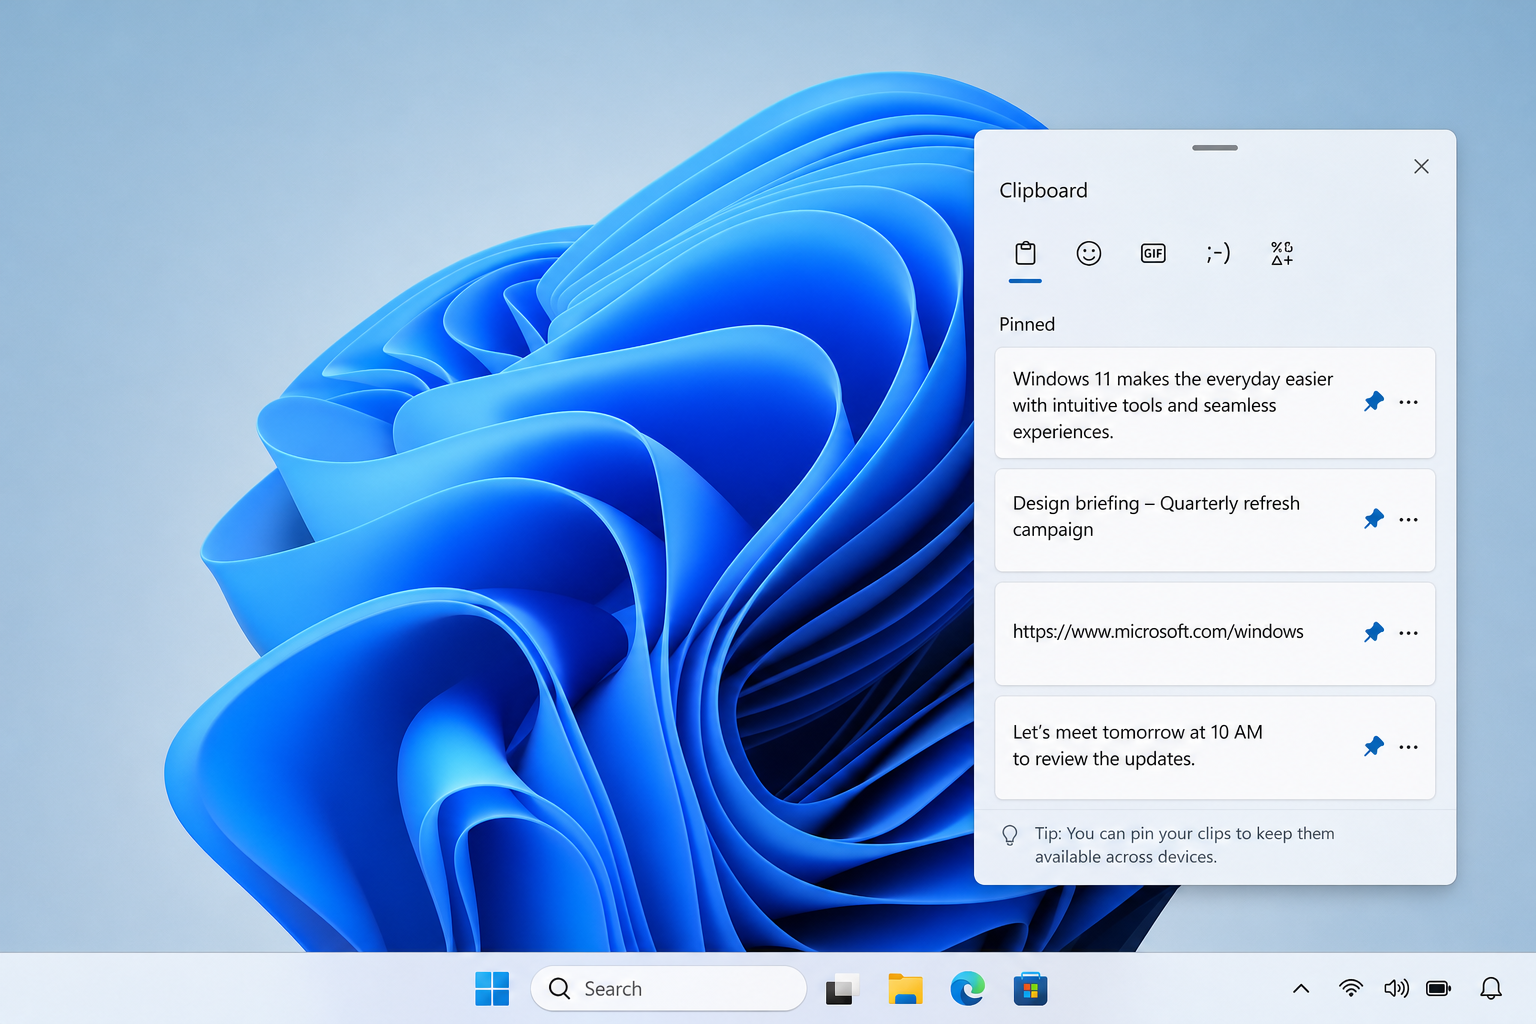
Windows clipboard history lets you copy multiple items and paste any of them later, instead of losing everything the moment you copy something new. You turn it on with Windows key + V, and from there you can pin snippets, sync them across your devices, and clear anything sensitive whenever you want.
If you’ve ever copied a password, then copied an address, and realized the password was gone forever — this feature solves exactly that problem. Below is everything you need to set it up and actually use it well.
What Is Windows Clipboard History?
Windows clipboard history is a built-in feature that stores a running list of recently copied text and images instead of overwriting the clipboard each time you copy something new. Rather than holding just one item, it keeps a scrollable list — up to 25 entries — that you can reopen and paste from at any time.
It works across nearly every app: browsers, Word, Excel, email clients, even most third-party software, because it sits at the operating system level rather than inside a single program. For anyone who copies code snippets, addresses, license keys, or boilerplate text repeatedly, it removes a lot of repetitive retyping.
How to Enable Windows Clipboard History
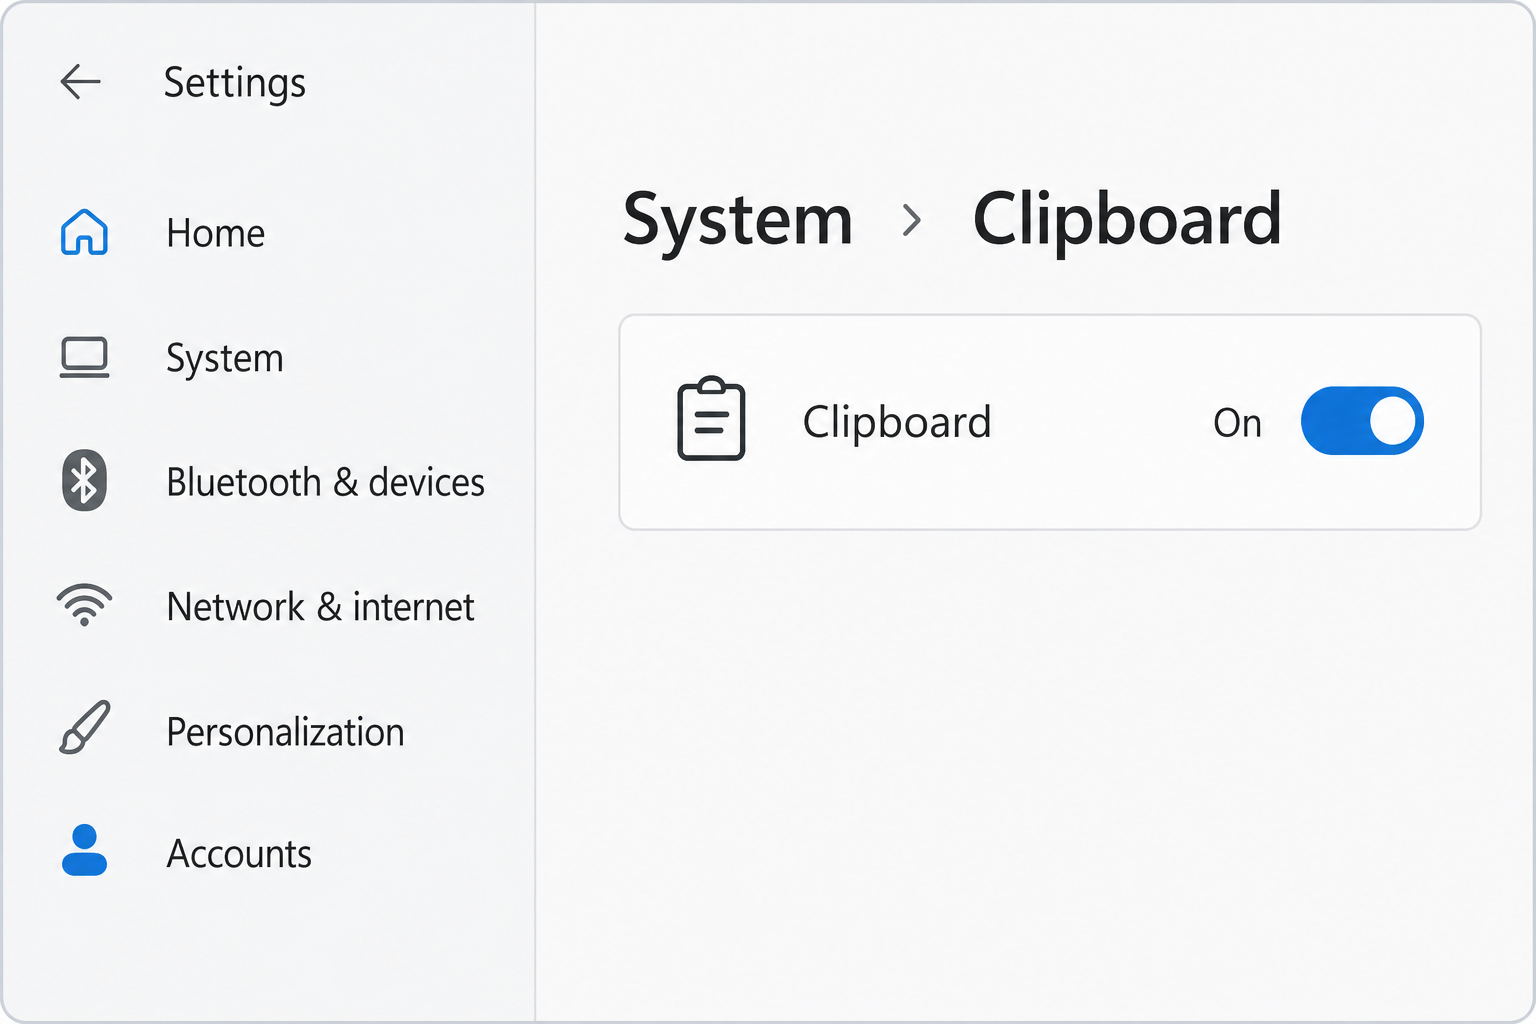
You can turn on Windows clipboard history either through Settings or directly with a keyboard shortcut — both take under a minute.
Turn It On from Settings
- Open Settings (Windows key + I)
- Go to System > Clipboard
- Switch the Clipboard history toggle to On
Once enabled, Windows automatically starts saving each new item you copy, text or image, into the history list.
Enable It with the Win+V Shortcut
If clipboard history isn’t turned on yet, pressing Windows key + V will show a prompt with an “Enable” button right there — click it and history starts working immediately, no need to dig through Settings at all. This is usually the fastest route if you’re setting up a new PC or a fresh Windows installation.
How to Use Windows Clipboard History Day to Day
Once it’s on, press Windows key + V any time you want to paste something other than your most recent copy. A small panel pops up above the taskbar showing your recent clips in order, newest first.
- Click any item in the list to paste it into whatever field is active
- Hover over an item and click the three-dot menu to delete, pin, or remove a single entry
- Images and text both appear, though very large images may not be captured
By default, unpinned items are cleared when you restart your PC, which is worth knowing if you’re relying on the history for something you’ll need the next day — pin it instead (more on that below).
How to Pin Frequently Used Snippets in Clipboard History
Pinning keeps a clip in the list permanently, even after a restart, which is the fix for anything you paste constantly — a signature, a support email template, a product key, or a recurring code block.
To pin an item:
- Press Windows key + V to open clipboard history
- Find the item you want to keep
- Click the pin icon (or the three-dot menu, then “Pin”)
Pinned items stay at the top of the panel, separate from the regular rotating history, so they’re always one keystroke away. This is one of the most underused parts of Windows clipboard history — most people never realize unpinned items disappear, then lose something they needed.
How to Sync Clipboard History Across Devices
Syncing lets you copy something on one Windows PC and paste it on another, as long as both are signed in with the same Microsoft account. This is genuinely useful if you work across a desktop and a laptop, or a personal and work machine.
Turning On Sync
- Go to Settings > System > Clipboard
- Turn on Clipboard history across your devices
- Choose Automatically sync text that I copy, or sync manually each time instead
You’ll need to repeat this step on every device you want included — sync has to be enabled on both ends, not just one.
What Does and Doesn’t Sync
Only text syncs across devices; copied images stay local to the machine they were copied on. Pinned items do sync, which is handy for things like a frequently used signature you want available on every PC you use. Keep in mind that whatever syncs also passes through your Microsoft account, so it’s worth being deliberate about what you copy when sync is active.
How to Clear Sensitive Entries from Clipboard History
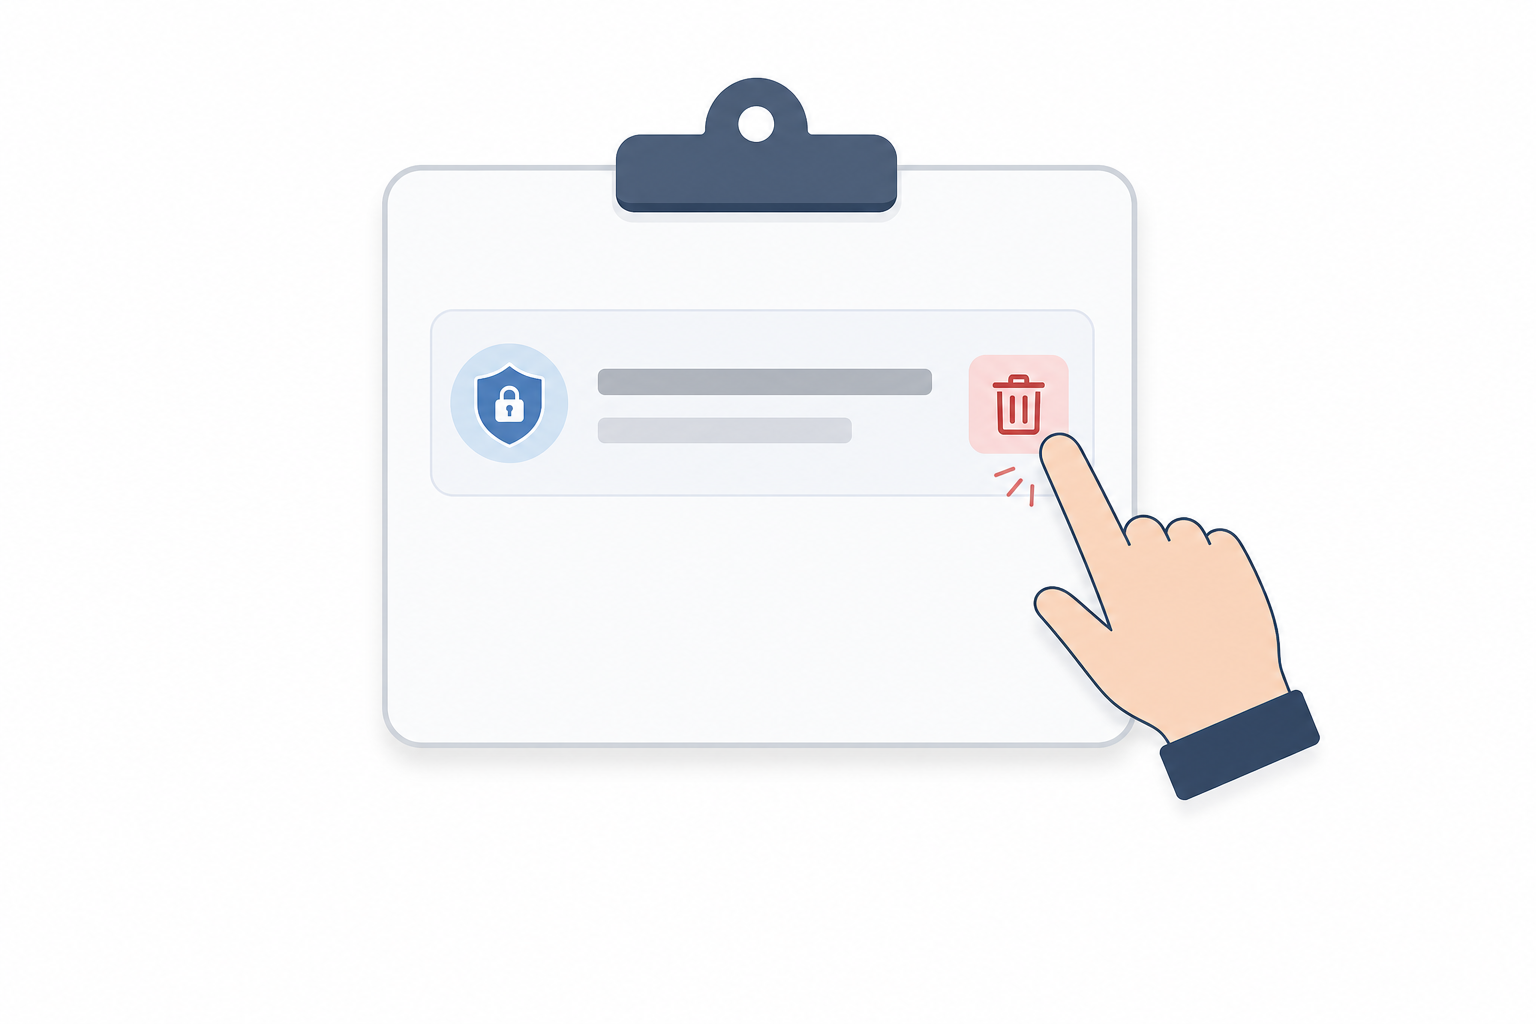
You can delete a single item instantly, or wipe the whole list in one step — both take just a couple of clicks and neither requires a restart.
Clearing One Item at a Time
- Press Windows key + V
- Hover over the item you want gone
- Click the three-dot menu and select Delete
This is the better option when you just copied something sensitive — a password, an account number, a one-time code — and want it gone without touching the rest of your history.
Clearing Everything at Once
To wipe the entire list:
- Open clipboard history with Windows key + V and select Clear all at the top, or
- Go to Settings > System > Clipboard and use the Clear button under clipboard data
Note that clearing all also removes pinned items, so if you want to keep a pinned snippet but wipe everything else, delete entries individually instead. As Microsoft’s official clipboard guidance notes, it’s good practice to clear clipboard history regularly if you frequently copy passwords, financial details, or other sensitive data, since anything copied sits there until it’s manually removed or the device restarts.
Troubleshooting Windows Clipboard History Not Working
If Windows key + V doesn’t open the panel, the most common fix is restarting the Clipboard User Service through the Services app, then toggling clipboard history off and back on in Settings. A few other things worth checking:
- Confirm the toggle in Settings > System > Clipboard is actually On
- Check that no group policy or MDM profile on a work PC has disabled clipboard history
- Restart the PC — this resolves most one-off glitches
- Remember the list caps at 25 items, so very old unpinned entries will drop off on their own
If you’re setting up clipboard history on a newly licensed machine, our guide to Windows 11 productivity features covers several other built-in tools worth turning on at the same time.
Is Clipboard History Available on Windows 10 Too?
Yes — clipboard history isn’t exclusive to Windows 11. It was introduced as a Windows 10 feature and works the same way: Windows key + V to open it, the same Settings path to enable sync, and the same pin and clear options. If you’re still deciding which OS to run, our comparison of Windows 11 Home vs Pro breaks down the other differences beyond clipboard tools. And if you’re setting up a fresh machine, genuine Windows 11 Home licence keys get you a fully activated system where features like clipboard history work out of the box.
FAQ
How do I turn on Windows clipboard history?
Press Windows key + V and click Enable when prompted, or go to Settings > System > Clipboard and switch the Clipboard history toggle to On. Both methods activate it immediately with no restart required.
How many items does clipboard history save?
Windows clipboard history stores up to 25 recent items. Once that limit is reached, the oldest unpinned entries drop off automatically to make room for new ones.
Do pinned clipboard items survive a restart?
Yes. Pinned items stay in the list permanently until you manually delete them, while unpinned items are cleared automatically when you restart your PC.
Can I sync clipboard history between two computers?
Yes, as long as both PCs are signed into the same Microsoft account and have Clipboard history across your devices turned on in Settings > System > Clipboard on each machine. Only copied text syncs; images stay local to the device.
How do I clear sensitive items from clipboard history?
Open the panel with Windows key + V, hover over the item, and choose Delete from the three-dot menu to remove just that entry. To wipe everything, select Clear all at the top of the panel or use the Clear button in Settings > System > Clipboard.
Why isn’t Windows key + V opening clipboard history?
Usually the feature is simply turned off in Settings, or the Clipboard User Service needs a restart. Toggling clipboard history off and back on, or restarting the PC, resolves most cases.
